Core hardness test – Mr. Caliper explains how it works
Mr. Caliper, what exactly is hardness?
Hardness is the mechanical resistance that a material has to the mechanical penetration of another body.
Why is hardness important?
The hardness test is a common procedure to examine the quality of the fasteners. For example, it is used if the fastener is not suitable for the tensile test due to its shape or size.
Which hardness tests can be performed in the laboratory of Würth Industrie Service?
For metals:
We use the test methods such as Brinell, Vickers and Rockwell for determining the hardness of metallic fasteners as per the standards. Among other things, the laboratory also tests the case hardening depth on tapping and self-tapping screws. Because of the state-of-the-art laboratory equipment, it is possible to test up to 16 samples simultaneously with the test method Vickers.
For plastics:
Plastic and rubbers can be checked for their hardness in an temperature-controlled room at a constant temperature and humidity. Depending on the hardness range, we perform standard tests using the Shore A method for elastomers or thermoplastic elastomers. If the test samples are very small, the standard IRHD microhardness test (method M) is performed. It is also possible for us to test the components with minimum material thickness of 0.5mm using the Micro Shore A method.
Test sequence
Mr. Caliper is ready for testing the core hardness. Come with us and learn about the individual steps in detail!

Before starting, it should be tested, whether the sample is suitable for testing. It should therefore be ensured that the core hardness test can be performed. For this purpose, the screw diameter is crucial to perform the defined test as per the standards. It should be checked, whether the required number of hardness indentations can be performed. The edge distance i.e. the distance between the indentations and the size of the indent is crucial here.#
Video sample preparation
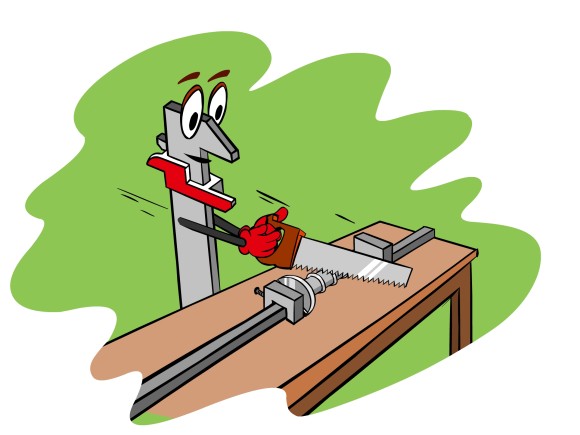
After ensuring that the test can be performed, the sample should be prepared. The first step is cutting. We rely on hardness indentations on the cross-section sample, which is separated 1xd (diameter) from the thread end (in case of doubt as per DIN EN ISO 898-1). If other test spots are defined, we should also take them into account. After cutting, we get two parts, one is the test sample and the other is the rest of the screw including the screw head. A cutting machine is used for this process. While cutting, sufficient cooling should be maintained, which if not ensured, can change the hardness due to the temperature resulting from the cutting.
Video sample preparation
The test sample is embedded to ensure that we can better prepare and test the sample later. For this purpose, we place the sample in the warm embedding machine and add different plastic granules. To ensure that we can trace the sample easily, we add a sample labeling with all important data such as the article number and the inspection lot number. Our embedding presses melt the granulate and press it under pressure against the sample. After cooling down, the granules solidify and encase our sample and it can now be grinded and polished.

To ensure that our test machine can identify and correctly measure the hardness indentations, we require an almost scratch-free surface. We can use our grinding and polishing machines here. The sample is processed in several steps (from rough to fine). In addition to the surface finish, the flatness is also important. If the sample is grinded uneven, it falsifies the hardness values.

Before the actual test, we first check the correct functioning of our test machine. This is done on hardness test blocks along with the yearly calibration. These blocks have a defined hardness value with low deviation. The results are compared with the certificate of the block after the test and it is decided, whether the functioning of the test machine is guaranteed. The laboratory of Würth Industrie Service carries out these checks every day for each test method used and the corresponding hardness range.

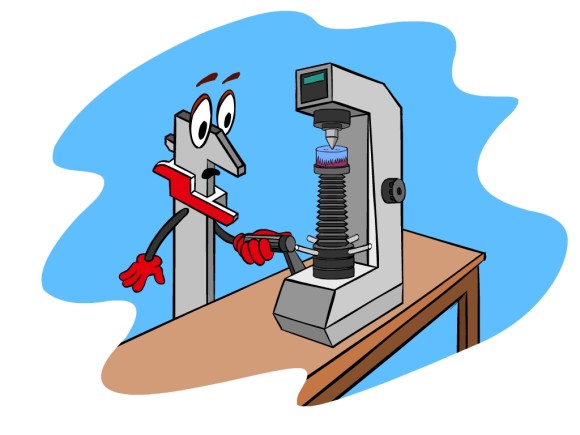
The actual highlight of our tour is the testing of our sample. The hardness is checked by pressing a diamond pyramid (as per Vickers) into the surface of the sample with a defined force for and time. Through this, there is a quadratic indentation, in which the diagonals are measured. This is the essential part of a complicated hardness calculation. In simple words, the longer the diagonals, the softer the material. Since the diameter pyramid can deeply penetrate the softer materials, the length of the diagonals (indentation) is also longer. Apart from Vickers, tests can also be performed according to Brinell (carbide ball) or Rockwell (diamond cone).

The properties determined (hardness results) of the sample as well the additional important information such as the last calibration date, the required tolerances or the examiner performing the test is documented in the test report. It can be evaluated from this report whether the requirements have been fulfilled.
Complete overview of the tests
Go to the complete overview and select the next test to learn about further details from Mr. Caliper!
Go to complete overview
Go to the next test
Go to the next test of our test laboratory with Mr. Caliper and find out about surface hardness test!
Go to surface hardness test
The Würth Industrie Service GmbH & Co. KG collects and processes the personal data provided in the form in order to process the requested request for you. Please note the mandatory fields in the forms. The legal basis for this processing, the absolutely necessary data, is Art. 6 para. 1 lit. b DSGVO, implementation of a pre-contractual measure. The processing of data voluntarily provided by you is carried out on the basis of Art. 6 para. 1 lit. f DSGVO. Thereafter, processing is permissible which is necessary to safeguard our legitimate interests. Our legitimate interest is to have contact with you, our customers, to improve our consulting quality and to be able to contact you more easily in case of possible queries. The data collected will only be stored by us for as long as is necessary to process your enquiry and to contact you. They are then deleted.
Supplementary data protection information, in particular regarding your rights to information, correction, deletion, restriction of processing, objection and complaint, can be found in our data protection declaration.
