Microstructure analysis – Mr. Caliper explains how it works
Mr. Caliper, what is a microstructure analysis?
In a microstructure analysis, the microstructure of a component is examined. For this purpose, a high-quality cut is created and the microstructure is made visible by etching with a suitable acid. This embedded sample is examined under an incident light microscope. The microstructure is formed during the heat treatment process and process errors, if any, can be concluded from it. Normally, it is also possible to find out in which process step the problem is. For example are the 90% martsensite in the core area, required by the DIN EN ISO 898-1, only achievable when the austenitisation temperature (of approx. 850°C) has been reached and the quenching is done quickly.
Why is it important?
The mechanical properties of a component are significantly determined from the heat treatment process and consequently from the microstructure. A microstructure analysis is especially helpful if the heat treatment process is to be examined or an error analysis is to be conducted.
Which types of microstructure analysis can be conducted in the accredited laboratory of Würth Industri Norge?
We specialise in conducting microstructure analysis on fasteners from low alloyed steel and can meet the requirements, for example, of DIN EN ISO 898-1. This includes:
- Martensite content in the core
- Determining carburisation and decarburisation
- Detecting delta ferrite (defined only for the property class 12.9)
- Surface defects and thread laps (DIN EN 26157 part 1 & part 3)
- Grain size analysis (DIN EN ISO 643)
Test sequence
Mr. Caliper is ready to explain the microstructure analysis of the products to you. Learn about the individual steps in detail!

As for all other test methods, the test spots and the tolerances should also be defined for the suitability test. Particularly, the test position is extremely important. For example, a longitudinal section should be produced in the threaded section for checking the carburisation and decarburisation or the thread lap. A transverse section is useful for determining the proportion of martensite or delta ferrite.
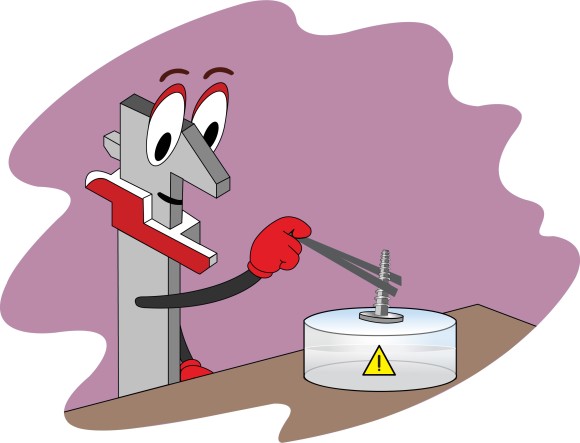
Since a possible surface coating can tamper the microstructure analysis, the sample is pickled. For this purpose, we use approximately 30% hydrochloric acid and place the sample for few seconds to few minutes in the hydrochloric acid depending on the coating. This affects the coating and it starts dissolving. It is important to ensure that the sample is not exposed for too long to the hydrochloric acid. Once the coating is removed, the hydrochloric acid starts affecting the base material. Subsequently, the sample is rinsed with water and dried.

The embedding is done with high-quality granules, which attaches itself closely to the sample and thus minimise the gap formation. Since the sample is etched later, it is important to ensure that no gap is formed between the sample and the embedding medium. It leads to etching spots and complicates the microstructure analysis.
We use a grinding and polishing machine that is exclusively for the microstructure analysis. The grinding and polishing is done in several stages. From rough to fine, we use grinding discs from P80 and end with a 3μm diamond suspension. The sample and the sample holder are cleaned between the individual stages to avoid any carry-overs. An almost scratch-free surface is required for conducting the microstructure analysis.

The sample is contrasted with a weak (3%) nitric acid for a few minutes so that the structure of the microstructure is visible. Afterwards, the sample is cleaned again. After cleaning, the surface is sprayed with alcohol and is kept under a dryer to avoid water stains. If the etching process has been performed for too long, the sample is re-polished and the process is repeated.

Using modelling material and a stamp, the prepared sample is mounted on a flat surface, since flatness is very important for the image quality.
The microscope is maintained regularly and monitored with a traceable glass scale.

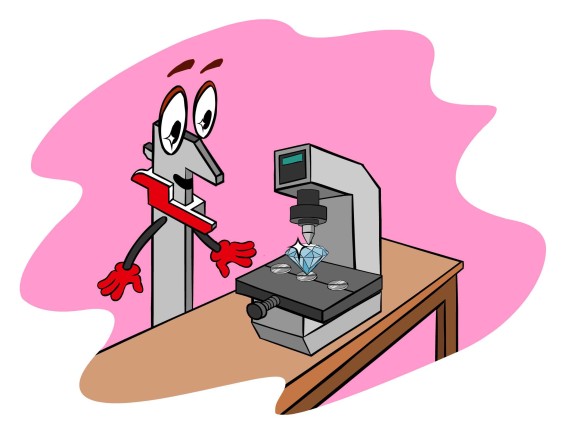
The prepared sample is placed under the microscope and analysed with different magnifications under a light. It is advisable to get an overview with lowest magnification (e.g. 50x). Afterwards, the noticeable patches are examined with larger object lenses. Our microscope has the following magnifying capabilities: 50x, 100x, 200x, 500x, 1000x. Since the evaluation is mainly done by a trained employee and actual measurement values are generated only in few cases (e.g. while measuring a decarburization or the plating thickness), the expertise of the tester is indispensable. For this reason, in 2012, Würth Industrie Service started to train materials testers and has continued doing it successfully every year since then.

The description of the tested item is always present in the test report along with a brief description of the sample preparation process and the used etching medium. All inspected characteristics are listed in the report and evaluated with the relevant pictures.
The Würth Industrie Service GmbH & Co. KG collects and processes the personal data provided in the form in order to process the requested request for you. Please note the mandatory fields in the forms. The legal basis for this processing, the absolutely necessary data, is Art. 6 para. 1 lit. b DSGVO, implementation of a pre-contractual measure. The processing of data voluntarily provided by you is carried out on the basis of Art. 6 para. 1 lit. f DSGVO. Thereafter, processing is permissible which is necessary to safeguard our legitimate interests. Our legitimate interest is to have contact with you, our customers, to improve our consulting quality and to be able to contact you more easily in case of possible queries. The data collected will only be stored by us for as long as is necessary to process your enquiry and to contact you. They are then deleted.
Supplementary data protection information, in particular regarding your rights to information, correction, deletion, restriction of processing, objection and complaint, can be found in our data protection declaration.

