Dimensional inspection – Mr. Caliper explains how it works
Mr. Caliper, what exactly is a dimensional inspection?
A measurement test can be very diverse. It ranges, for example, from height and length measurements to complex shape and position tolerances. Among others, a coordination measuring machine is used for performing these tests.
Why is it important?
The compliance with the dimensions as well as the form and position tolerances is very important for the later application, because the sample may not be installed or may fail in case of deviations. If, for example, the under-head radius of a screw is not correctly formed, it can lead to failure when subjected to stress.
Which geometry tests can be performed?
Dimensional tests such as length and height measurements for norm and standard parts as well as customer-specific, complex drawing parts, such as sheet metal bending parts. The testing of complete thread contours is also possible.
There is a range of simple measuring devices such as calipers, micrometers as well as high-precision testing machines such as a contour and coordination measuring machine.
Test sequence
Mr. Caliper is ready for the dimensional inspection. Take a look inside our laboratory and learn about the individual steps in detail!
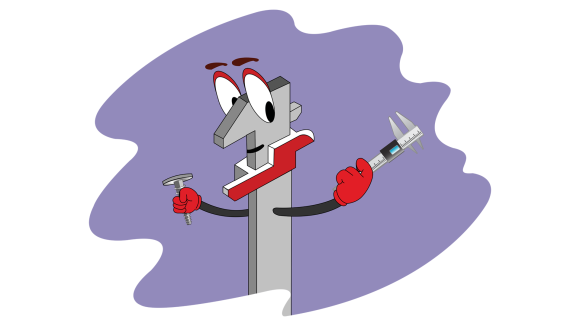
The measuring device is selected depending on the measuring task such as length, diameter, flatness, coaxiality, etc. as well as value of tolerance.
The size and the weight of the samples also play an important role here.
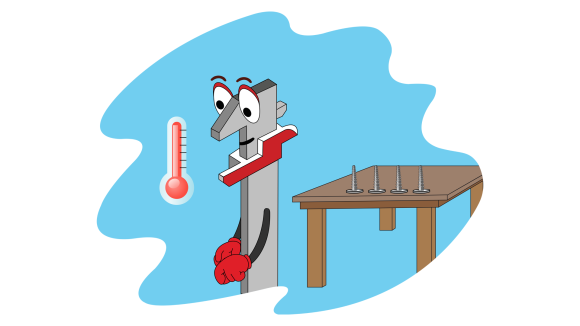
Normally, samples are tested as delivered. Dirty samples should be cleaned before the test. While measuring on the coordination measuring machine or the contourograph, the samples should be tempered beforehand in a temperature-controlled measuring room to minimise the impact of the thermal expansion. Since the measuring tasks in the measurement test vary widely, the procedure is explained below using an example. Multiple surfaces on the screw should be compared with the CAD dataset of the component. This is measured on the coordination measuring machine.
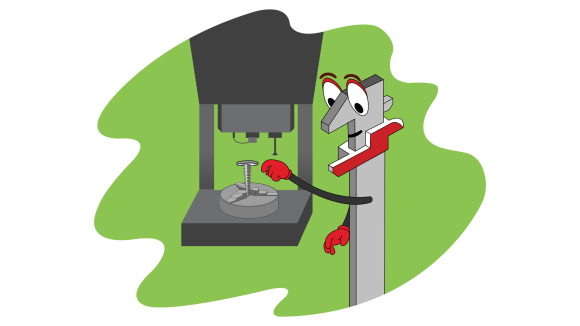
The screw should be first placed and aligned in a suitable clamping device on the machine in such a way that all the relevant test surfaces can be measured. Subsequently, the test procedure is programmed. In our case, the test is supported by a CAD dataset.
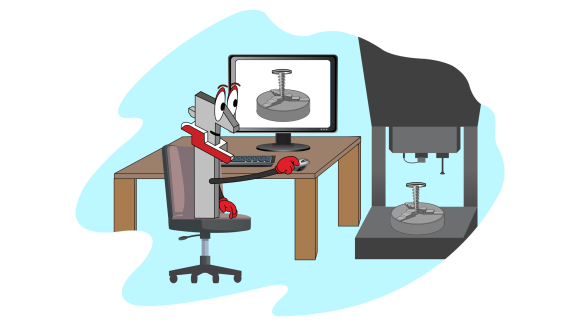
The test is fully automatic. The machine scans all the surfaces with the tactile feeler, as previously specified in the test procedure.
All the important data such as information about the corresponding sample and the test task, the tester, the last calibration etc. is mentioned in the report. All the measured values with the tolerances and the deviation from the desired value are also mentioned. During this measuring task, the CAD model and a colour-coded presentation of the sample deviations are also included in the report, so that it is easy to identify, where the differences occur. If the deviations are known, then it is possible to address them in the production, for example, by reworking the press mould or by adjusting the milling program.
The Würth Industrie Service GmbH & Co. KG collects and processes the personal data provided in the form in order to process the requested request for you. Please note the mandatory fields in the forms. The legal basis for this processing, the absolutely necessary data, is Art. 6 para. 1 lit. b DSGVO, implementation of a pre-contractual measure. The processing of data voluntarily provided by you is carried out on the basis of Art. 6 para. 1 lit. f DSGVO. Thereafter, processing is permissible which is necessary to safeguard our legitimate interests. Our legitimate interest is to have contact with you, our customers, to improve our consulting quality and to be able to contact you more easily in case of possible queries. The data collected will only be stored by us for as long as is necessary to process your enquiry and to contact you. They are then deleted.
Supplementary data protection information, in particular regarding your rights to information, correction, deletion, restriction of processing, objection and complaint, can be found in our data protection declaration.
